Showing posts with label felt craft. Show all posts

Friday, 8 May 2020

Felt Art + Marbling Design + Learning

Are your running out of craft ideas? Not to fret, as I've got you covered with another two projects. 


Kidspot: DIY Felt Art Set

Head over to Kidspot to get your hands on a Felt Art Template set I created. This set is the perfect starter kit for creating felt images. This activity is perfect for isolation, or travel (life after isolation).


My Poppet: DIY Marble Design Hat

In My Poppet land, I have shown how simple and easy it is to marble a three dimensional blank canvas. 

Here's a fun fact about the marbling ink (Bokuundo) used in this project. I bought the marbling ink from an art store fifteen years ago, and it's still good to use. 


WC Digital Portrait © Melissa Gaggiano

I have signed up for a swag of short art courses. I've completed a portraiture course that combines water colour with digital elements. The other courses I'm working through include BJD making, Art Toy Design, and Pop-up Book Making.

Saturday, 8 June 2019

Sew a Flying Pony


I have create a sewing project for you to try.  With the supporting content video and instructions you can make your very own Flying Pony. How neat is that?

Collect some materials, biscuits and a friend (or two), and get started making this cute flying pony. FYI, the wings can be moved.


You will need:
  • 3 felt sheets (different colours)
  • 4 buttons
  • Pen
  • Thread
  • Needle
  • Hobby fill
  • Dressmaker pins
  • Haemostat or chopstick
  • Craft scissors

Steps:

1. Copy and print the below template, and cut out the pattern pieces.


2. Place the pattern pieces on felt. Draw outlines of the pattern pieces onto the felt.
Felt 1 – body, ears.
Felt 2 – tail, mane, fringe.
Felt 3 – wing.

3. Cut out the drawn felt pieces.

4. Pin the fringe, ears and mane to the top of a body piece, as per the body pattern reference markers and plain stitch together.

5. Roll up the tail piece along the length, pin it and plain stitch closed.

6. Pin together the two body pieces, with the fringe/ears/mane sandwiched between.

7. Sew along the body perimeter, 3-5mm from the edge. Keep the horse bottom open.

8. Stuff the body with hobby fill.

9. Slip the tail into the bottom opening and pin into position. Sew closed the bottom opening, making sure to stitch into the tail.

10. Stitch one button into either side of the horse’s head, as per the reference marker. The easiest way to do this is to feed the needle from one side of the body to the other, through the holes in the buttons.

11. Layer and pin each pair of wings. Plain stitch lines into each wing piece, as per the reference markers.

12. Position and pin the wings onto either side of the horse’s middle, as per the reference marker. Stitch one button into either side of the wing, as per the reference marker. Do this by feeding the needle from one side of the body to the other, through the holes in the buttons. You now have your very own flying horse.

Wednesday, 8 May 2019

Kidspot Will Have You Charmed This Mother's Day

KIDSPOT – MOTHER'S DAY CRAFT
The past few days I have been in full project mode. Those are the best times – producing work that is both pleasurable and challenging. As an added bonus, the creation process is a form of renewable energy as it feeds both my drive and imagination.

So what have I been working on lately? It is charming! It is lovely! It is a Kidspot – Mother's Day craft project. Head on over to Kidspot to find out how to make this sweet charm.

What else is happening in the land of Melissa. There's lots of brainstorming, chats with the little one about making a fairy village in the garden. We've already got a miniature prayer statue back there, so there really needs to be a village to go with it.

Catching up with an old friend, sparked an idea for a 'date night' outfit. Think twin flamingo shades, pom-pom shirt, with matching wedge sandals and toe nail polish. If the outfit makes your date turn and run, I say it wasn't meant to be.

Sunday, 16 December 2018

Gameboy + Pac Man + Fish Girl + Fast Food


I'm busy. You're busy. Everyone's busy. It's that time of year. We're all rushing to get things done, as if Christmas and New Year is this unspoken cut off period. We all know it's drawing near. In fact, we've had a whole year to brace for the festive season. And yet, here we are, losing our sanity, collectively.

Oh well.

The past week I have been hand making presents for family and friends. Nothing says friendship appreciation like a felt crafted Nintendo Gameboy and a tray of fast food.

As of tomorrow, I will try listening to my own inner voice, and stop... Maybe.

Friday, 23 November 2018

Rubik's + Gameboy

Felt crafted Rubik's cube
by Melissa Gaggiano
This week might have been a lost week, if not for the impromptu sewing projects, which are photographed here.

The week began, with my finishing a major project (which at the mo' is still hush-hush). The project is now in the hands of others, as I  await feedback. That left me with time, to contemplate my existential navel, and tweak an updated business plan. I'd tell you that I'm at a cross-road. But let's be clear – every week is a cross-road for me. Even with a business plan, I still have this feeling that I'm flying by the seat of my pants. Nothing wrong with that, I suppose. It means I'm using instinct.

I have discovered, when between major projects, it is healthy to take on smaller projects. As it turns out, I always need to create something. So...

Two pieces, that I made this week, had a retro eighties vibe – a Rubik's Cube (with my own color choices), and a Nintendo Gameboy (intended as a birthday present). A part of me truly never left the eighties, and this sometimes bleeds through into my concept work.

Keep on! Keep on!
Felt crafted Nintendo Gameboy
by Melissa Gaggiano


Sunday, 11 November 2018

The Doll Box


One of my recent design creations has been to make a box home. It was for a little girl who loves LOL dolls. The furnishings have been designed to perfectly fit the dimensions of an LOL doll. The box doubles as both gift packaging and an actual doll room.

The furnishings of this box doll room include:

  • bed
  • pillow
  • double sided quilt
  • bunting
  • pot plant
  • book shelf
  • books x2
  • couch
  • couch cushions x2
  • chest


Materials I worked with include:

  • felt
  • print fabric
  • thread
  • hobby fill
  • wire
  • foam board
Send me an email if you wish to commission me to make this doll box.


Tuesday, 14 August 2018

Finger Puppets + Other Things

Commissioned finger puppets,
made by Melissa Gaggiano.

I was recently commissioned to make finger puppets, to be used as classroom tools. The purpose of the puppets is to act as a prop, through which children can express their thoughts and feelings. Such a wonderful thing, and I couldn't have been more thrilled to create something that could be beautiful and useful.

I have also been making accessories to go with this sloth doll. I made a book and pencil out of felt and thread. I've made felt books before, but this was the first time I crafted an actual felt pencil. That was different. I can hardly wait to get this off to the intended birthday kid.

© Melissa Gaggiano

© Melissa Gaggiano


Thursday, 19 July 2018

My Goodness, My Poppet


My latest project for My Poppet has now gone live. How gorgeous is this paper butterfly lantern. To find out how to make this project, head on over to My Poppet.


I've made one of these My Poppet toadstool pin cushions for myself. It was so good, my youngest asked me to make her one. So I did, with just one lil' tweak - needle felting the spots on. It was so effective. Visit My Poppet, and give this super easy project a whirl. You will not be disappointed by it's cuteness.

Friday, 8 June 2018

Garden Pixie, Painting and Burger

In a week of grey skies and antibiotics I created, and drew into my corner a few slices of colour.

Two of my designs appeared in this month's issue of Handmade magazine. And in fact my Sweet Garden Pixie made it onto the cover, with my name credit. How incredible!


Wanting to create some cheerful colour, I painted a canvas for my kids' bedroom wall. The painting is in fact of them. When my youngest saw the painting for the first time she laughed out loud – she likes it!

 Once the antibiotics started working I was able to put my mind into doing other things. I designed a felt (and crochet) burger. I am considering building on it by adding a drink and chips.


Friday, 13 April 2018

Purse + Owl + Stuff

Handmade magazine – # 36-12
The 2018 April issue of Handmade has dropped in news agencies, and would you believe? I'm a cover girl! Well, sort of... kind of! Two of my designs are cover girls. That counts doesn't it? Check out Handmade to find out how to make the Mermaid Purse and the Pocket Owl.

In other news, I've been full steam ahead, as I work on a top secret project. Obviously it's not so secret because I'm telling you that I've got something in the pipeline. But it's secret enough that you'll just have to be patient and wait for the ultimate unveiling.

The past few days a viral meme garnered my attention – #artvsartist . So, I decided to participate.
#artvsartist

Monday, 12 March 2018

Feltie Foodie

© Melissa Gaggiano
I have been working on a small project the past two weeks. Want to know what it was? Using felt, thread and other random materials lying around the house I recreated some of the delicious food thingies that I'd been eating. Some of it healthy and some of it, pure and simple comfort food.

Can you tell just some of the things that have been on the menu?
- Carrots
- Bacon + egg, muffin
- Popcorn
- Apple
- Chicken drumstick
- Rice paper roll
© Melissa Gaggiano

Thursday, 1 March 2018

Magical Unicorn


A birthday party is coming up and the theme is Japanese cuteness – Kawaii! 

I decided to hand craft a couple of presents. The birthday girl loves Pusheen, a funny little cat circulating on the internet. So I made her a felt crafted Pusheen. I didn't stop there.

I wanted to add something else to the birthday package. So yesterday afternoon I designed and made this unicorn charm (also felt craft). Isn't she lovely? Isn't she super cute? Or I should say super kawaii.

Friday, 17 November 2017

Tree Top Flamingos

my poppet.com.au
Here it is! My latest design-craft tutorial for My Poppet. It's got everything you would want for this time of year – flamingos, pom-poms, with a Xmassie twist. So come along, check it out here. More importantly, try it out.

Thursday, 16 November 2017

Twice the Magic

Handmade Issue 36-7
The latest issue of Handmade magazine has landed. In issue 36-7 you will find a smashing stash of enticing  Xmassie craft projects. In and amongst the creativity you will find two projects that I have produced. Check it out now at your local news agency and library.

© Melissa Gaggiano

Friday, 10 November 2017

Coffee Break, Masks and Other Challenges

In things that have been happening:


© Gwen Gaggiano
My eldest has offered to paint my portrait if I can go a month without drinking coffee. I'd love to have my portrait painted, but I don't know if I can sustain myself through caffeine withdrawal. I mean, my aim in life is to be less grumpy, and I can only imagine what the lack of caffeine might do. Perhaps the trick is to build it up – go one day without coffee, then have a coffee the second day. Two days without, one day with. Et cetera, et cetera!


Felt craft: The Legend of Zelda – Link with Bunny Mask;
Deku mask; Majora's mask.
My husband's birthday is just around the corner and I made him a headband. No, really!  I did. For a bit of context, years ago I made him a LOZ Link doll. Each year after that I make an accessory to go with the doll. So far I've made a Deku mask, and Majora's mask. This year I made the bunny headband mask. I'm thinking that one day we will need to build a treasure chest to store these pieces. Perhaps it can look like an actual LOZ chest.


© Melissa Gaggiano
My doll design development continues, as always. Working with armature, continued improvements to the pattern with each new doll. This week I have been exploring wig hair. Playing with a synthetic weft, as well as a needle felted hairdo. My next step is designing shoes and a crochet top for the blue haired doll. The crochet top is a massive challenge as I am experimenting with a super fine crochet hook and embroidery thread. Might work, might not! We'll see!

Thursday, 2 November 2017

A Week of Bees

© Melissa Gaggiano


The world speeds up, and I find myself slowing down. Or so it seems. When I check the date I am surprised to find that it is not May. I could have sworn it was, and yet here I am, the year almost complete. How quickly it goes, huh.

The past couple of weeks Spring has started to kick in. The bees are buzzing around, and for the first time I look at having a flowering garden as more than an aesthetic pleasure. When the heat of summer kicks in I'll put out little bowls of water so the bees have something to drink.

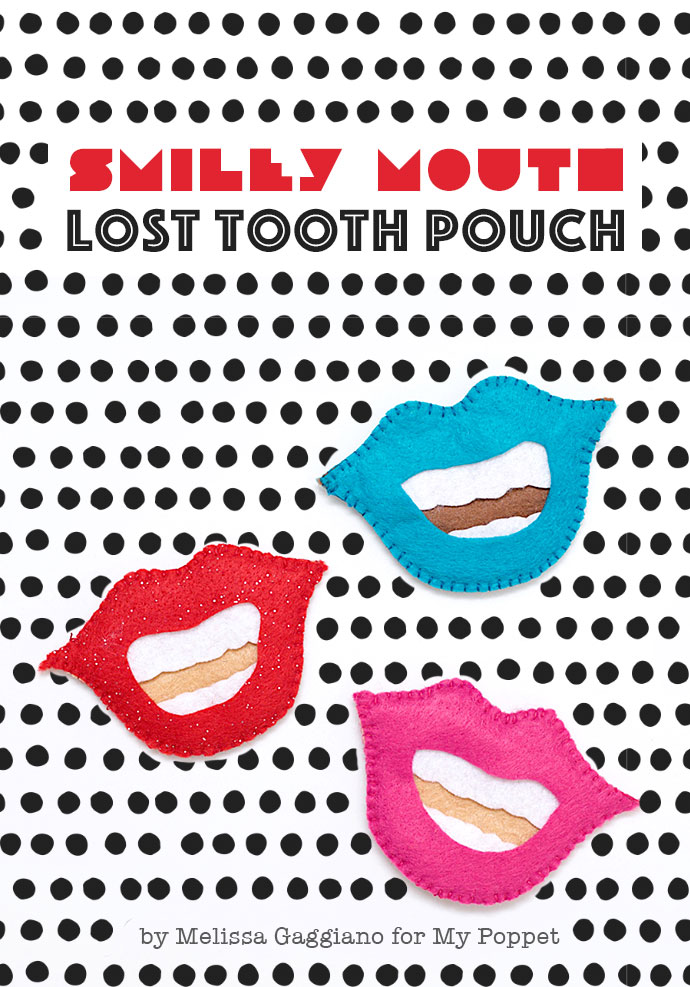
You can find my latest craft tutorial over at My Poppet. This one is a cute spin on the tooth fairy pouch.
my poppet.com.au


In October I debuted as a contributor for Handmade magazine. How cute is that Santa doll on the cover?
Handmade 36-6

In other neat stuff: I am devoted to to Joshua David McKenney's Pidgin dolls. On the Pidgin fan Facebook page, people were invited to suggest a Halloween costume illustration for Pidgin. Guess who had the winning suggestion... Yep! It was me! I suggested The Cowardly Lion from The Wizard of Oz.
@pidgindoll


Sunday, 25 June 2017

Ready-a-Gocco

The Cat Rabbit exhibit
Outré Gallery
     I don't often go into the city, but when I do... I cannot pass up an opportunity to visit Outré Gallery. Today was just one of those days. Cat Rabbit had an exhibit at Outré and being that it was the last day, with daughter in hand, I took a proton pill, put on my helmet and battled the traffic.

    It was worth dealing with infrastructure just to visit Outré. It has been my cultural Mecca for close to twenty years. Many of my favourite artists are represented by this gallery. And Cat Rabbit is one of those artists.

    Cat Rabbit's playful exhibit is something of an ode to gocco – a now defunct home based Japanese screen printing system, which ironically is very popular amongst the artists and crafters that I like to follow.

    In Cat's very own Cat Rabbity way she takes mundane, everyday items and makes them fun by turning them into little felt crafted pieces. This is simple and genius! And I love it! Naturally I couldn't leave without picking up a limited edition Gocco: Play Date book. Now I will never forget this exhibit-exhibit.

    Thanks Cat! Can hardly wait to see what you create next.

    To find out more about the very sweet Cat Rabbit simply go to –

The Cat Rabbit exhibit
Outré Gallery

The Cat Rabbit exhibit
Outré Gallery

Wednesday, 7 June 2017

Flowery Felt Craft Project

My Poppet tutorial
© Melissa Gaggiano

How exciting is this! My Poppet Makes presents a freshly minted tutorial by moi. If you're into felt craft and flowers then this lil' treasure of a project is the perfect activity for you. Add this to your list of wee wonderful to make this year.


© Melissa Gaggiano

© Melissa Gaggiano

Friday, 26 May 2017

Twister

Melissa Gaggiano Photography
    On a complete and utter whim I made this mock Twister board game miniature for the girls doll house. They love it when I make little bits and pieces to add to their doll house, and this one was so simple in concept. As I was sewing the dots onto the white felt I realised how nice the pattern would look on a doll apron or skirt.

Thursday, 18 May 2017

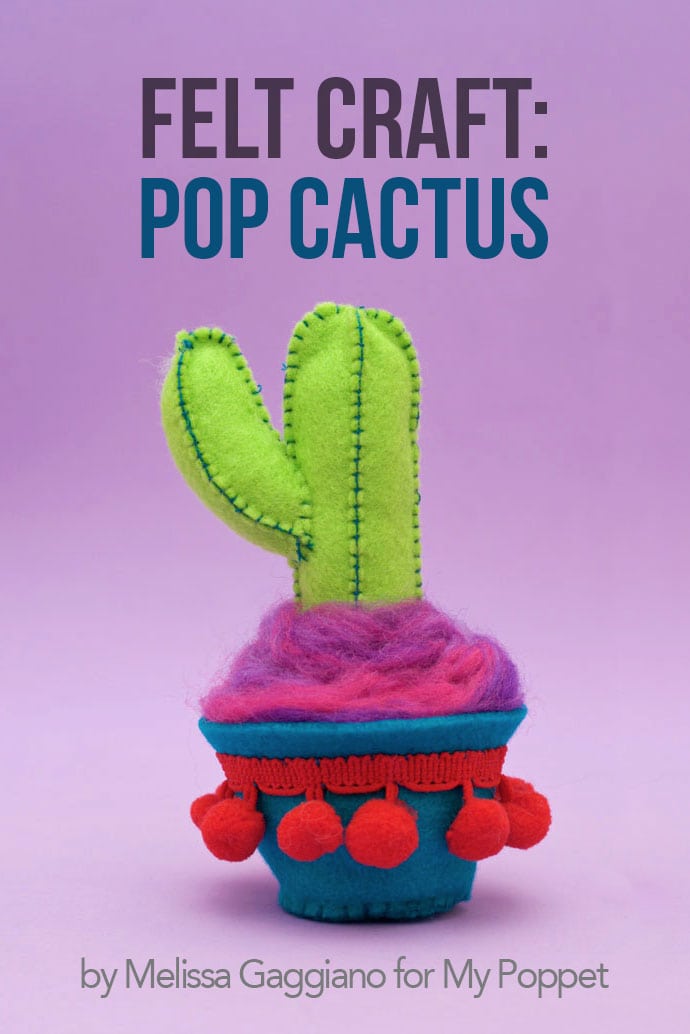
Talk About... Pop Cactus

My Poppet tutorial


Talk about, pop cactus
Pop, pop, pop, pop cactus

It's another proud day for me, as a new tute of mine is now available at My Poppet. If you love pop, felt craft and cacti then this is the perfect thing for you. Check it out now!